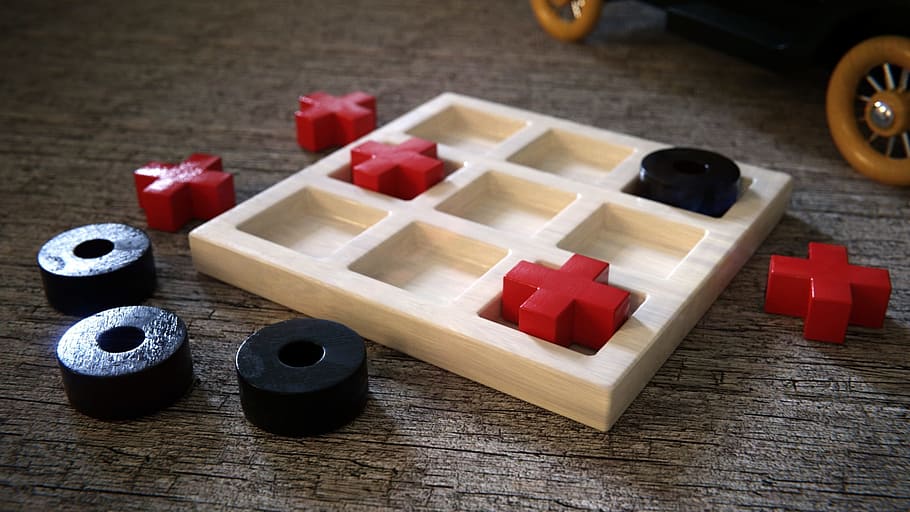
리액트를 간단히 겪다(?)
튜토리얼을 진행하자 : 리액트 튜토리얼 사이트
동작방식을 익히다.
리액트에서는 props, state 를 가지고 논다! props 에서 느낀점은 데이터 뿐만아니라 함수까지 전달하는 개념인것같다. (개념적인 부분은 여기를 참고하자)
인상 깊었던 부분들
props 간단한 사용법(?)
class Game extends React.Component {
    ...
    return (
        /*Game class
         *    squares, onClick, line 을 props 로
         *    Board 클래스로 넘긴다.
         */
        <Board
         //highlight-start
            squares={current.squares}
            onClick={(i) => this.handleClick(i)}
            line = {cal.line}
            //highlight-end
        />

    );
    ...
}

class Board extends React.Component {
    ...

    /*Board Class
     *   this.props 로 Game class 에서 넣은
     *   square, onClik, line 의 값 혹은 함수를 활용(?)한다..
     */
    renderSquare(i) {
        return (
            <Square
                //highlight-start
                value={this.props.squares[i]}
                onClick={() => this.props.onClick(i)}
                line={this.props.line.indexOf(i) === -1 ? null  :  true}
                 //highlight-end
            />
        );
    }
    ...
}
밖깥에서 감싸기
Tag 안쪽부터 구현하여 바깥쪽에서 감쌀수 있다.
    render() {
        let items = [];
        for (let i = 0; i<3 ;i++){
            let row = [];
            for (let j=0; j<3;j++){
                row.push(
                <span key={(i*3)+j}>
                    {this.renderSquare((i*3)+j)}
                </span>);
            }
            //highlight-start
            //내부를 {row} 변수를 사용하여 정의
            items.push(<div className="board-row" key={i}>{row}</div>)
            //highlight-end
        }
      return (
        <div>
            {items}
        </div>
      );
    }
State
State 에 대한 정의를 내릴때, 핸들링하는 부모쪽 클래스에서 정의하며, 이 state 를 잘 핸들링하며 활용한다.
  export default class Game extends React.Component {
    constructor(props) {
        super(props);
        //highlight-start
        this.state = {
          history: [{
            squares: Array(9).fill(null),
            clicked:[0,0],
          }],
          stepNumber: 0,
          xIsNext: true,
          active : -1,
          ascending : true,
        };
         //highlight-end
      }
    handleClick(i) {
        // tihs.state.~~ 로 state값을 가져옴
        const history = this.state.history.slice(0, this.state.stepNumber + 1);
        const current = history[history.length - 1];
        const squares = current.squares.slice();
        if (calculateWinner(squares).winner || squares[i]) {
          return;
        }
        squares[i] = this.state.xIsNext ? 'X' : 'O';
         //highlight-start
        this.setState({
          history: history.concat([{
            squares: squares,
            clicked:[Math.floor(i % 3), Math.floor(i / 3)],
          }]),
          stepNumber: history.length,
          xIsNext: !this.state.xIsNext,
        });
         //highlight-end
      }
      jumpTo(step) {
        //highlight-start
        this.setState({
          stepNumber: step,
          xIsNext: (step % 2) === 0,
          active: step,
        });
         //highlight-end
      }
      toggleAsc(){
           //highlight-start
          this.setState({
            ascending: !this.state.ascending
          });
           //highlight-end
      }
      ...
구조 분석
작성된 컴포넌트 구조 분석.
  export default class Game extends React.Component {
    constructor(props) {
        super(props);
        this.state = {
            ... // state 정의
        };
      }
      handleClick(i) {
          ... // state 핸들링
      }
      jumpTo(step) {
          ... // state 핸들링
      }
      toggleAsc(){
          ... // state 핸들링
      }
    render() {
        ...
        /* 아래 return 에 활용되는 값 정의
        *    변수에 return 을 넣어 많들수도 있음.
        *    const moves = return(<div>abc</div>)
        */
    return (
        ...
        /* 컴포넌트에 함수, render의 변수 등을 넘겨줌.
        *  render() 내 변수를 활용하여 html 작성
        */
    )
    }
  }
props 활용
Square 부분에 대한 render 컴포넌트를 따로 작성되었으며, props를 이용하여 표현방법을 정한다.
function Square(props){ // highlight-line
    return (
        //highlight-start
        <button
          className={props.line ? "winsquare" : "square"}
          onClick={props.onClick}
        >
            {props.value}
        </button>
        //highlight-end
    )
}

  class Board extends React.Component {
    renderSquare(i) {
      return (
    //highlight-start
      <Square
        value={this.props.squares[i]}
        onClick={() => this.props.onClick(i)}
        line={this.props.line.indexOf(i) === -1 ? null  :  true}
      />
     //highlight-end
      );
    }
    render() {
        let items = [];
        for (let i = 0; i<3 ;i++){
            let row = [];
            for (let j=0; j<3;j++){
                row.push(
                <span key={(i*3)+j}>
                    {this.renderSquare((i*3)+j)}
                </span>);
            }
            items.push(<div className="board-row" key={i}>{row}</div>)
        }
      return (
        <div>
            {items}
        </div>
      );
    }
  }
결과물
이제 뭘하지 !?
튜토리얼을 했으니, 이제 프로젝트를 진행하자! 개인적으로는 infinite scroll 을 구현해보려고 한다.
지나고 보니(?) TOC(table of contents)부터 하였다.